How to Display Your Art at Home: 6 Practical Steps
To display your art at home, choose a location you enjoy looking at, arrange pieces around the furniture, and use secure supports suited to their weight. Start with one wall or shelf rather than trying to decorate every empty space.
You can create a thoughtful display with original paintings, affordable prints, family photographs, or artwork you made yourself. Your pieces do not need matching frames or a shared price tag to belong together.
The useful decisions are placement, scale, and layout. Framing, lighting, and installation then help you finish the arrangement and care for it properly.
Follow these six steps to turn the art you already love into a display that suits your home.
Key Takeaways
- Start with a few favorite pieces and choose where you will actually notice and enjoy them.
- Choose one main arrangement for each wall, such as a single focal piece, a pair, or a gallery grouping.
- Test your layout with paper templates before making holes or committing to a final position.
- Match frames and hanging hardware to the artwork, its weight, and the supporting surface.
- Make protection part of your plan, especially when displaying valuable originals or sentimental artwork.
Choose Where to Display Your Art at Home
Begin with the artwork, not a shopping list. Gather the pieces you might display and separate them into three groups: pieces you want to see daily, pieces that could work together, and pieces you would rather save for another arrangement.
If you make art yourself, include finished sketches, small studies, and photographs of larger projects. You do not have to reserve your walls for your most ambitious work. A modest drawing can deserve a prominent spot simply because you enjoy it.
Look at the room from your usual positions
Stand in the doorway, sit on the sofa, and look up from your desk. Notice which wall areas attract your attention naturally. Choose a position that makes sense from those everyday viewpoints, rather than judging the wall only while standing directly beside it.
Try assigning a different purpose to each area:
- Living room: Give a favorite painting or coordinated grouping the main position.
- Bedroom: Choose work you like seeing when you wake up or settle down.
- Hallway: Consider a sequence of photographs, drawings, or smaller prints.
- Workspace: Display your own creations, studies, or pieces you find motivating.
Check the conditions before committing
A visually appealing location is not always suitable for an original. Keep valued paintings away from direct sunlight, radiators, working fireplaces, and locations with substantial temperature or humidity changes. Choose a more stable indoor spot when the artwork matters more than the decorative placement.
If you want decoration near cooking splashes or bathroom steam, consider an inexpensive, replaceable reproduction instead. You can still enjoy the image without making an irreplaceable piece part of that experiment.
Plan How to Display Your Art at Home
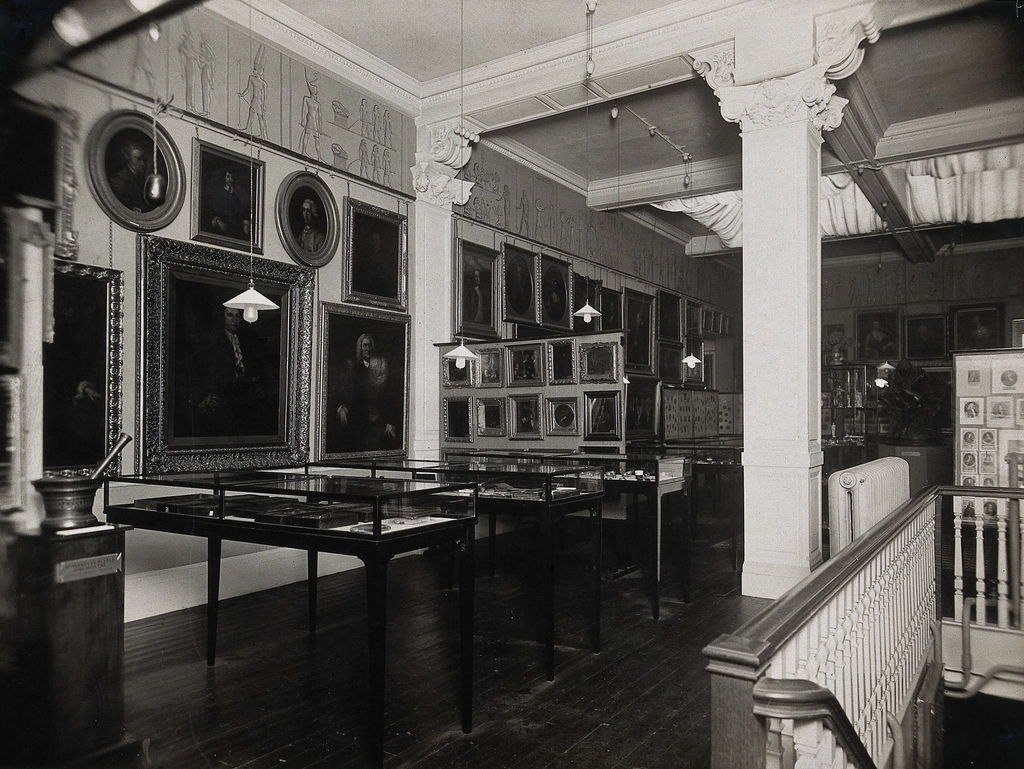
Choose a main display format before deciding exactly where every frame belongs. For your first attempt, try a single focal piece or a simple pair. If you want several works together, choose between an orderly grid and a looser gallery wall.
Use this comparison to narrow down your options:
| Display format | Try it when | Planning priority |
|---|---|---|
| Single focal piece | You want one artwork to receive most of the attention | Position it in relation to nearby furniture |
| Pair or small series | You have related images or similarly sized works | Choose a consistent alignment and gap |
| Grid | You prefer an orderly collection of photographs or prints | Measure the outer rectangle and internal spacing |
| Mixed gallery wall | You want to combine different sizes or subjects | Arrange the collection as one overall shape |
| Picture ledge | You want to change the selection frequently | Check shelf depth, installation requirements, and capacity |
| Tabletop display | You have small works and limited wall space | Choose a stable location outside busy traffic paths |
Give the collection a connecting detail
You might repeat a wood finish, a mat color, or a subject such as landscapes. Alternatively, combine very different images in simple frames. Pick one connecting feature rather than insisting that every element match.
For a mixed grouping, place your largest or most visually striking piece first. Add the remaining works around it, then check the outside edges of the whole arrangement. You are composing a group, not filling every available gap.
For a shelf display, try a larger framed piece behind a smaller one, leaving both images readable. If you prefer a quieter look, display fewer pieces and leave some shelf space empty.
Measure Height, Scale, and Spacing
Once you have a format, measure the full framed dimensions of each piece. Include mats and frames, not just the visible image. For a grouping, record its total width and height with the planned gaps included.
A common starting point is to place the center of an artwork roughly 57 to 60 inches above the floor. Treat that as a reference, not a requirement: your furniture, sightlines, and preferred viewing position should influence the final placement.
Relate the arrangement to the furniture
Above a sofa, cabinet, or headboard, try centering the artwork over that furniture rather than automatically centering it on the entire wall. Step back and judge whether the two feel connected.
If a small picture feels isolated above a broad sofa, test a different solution before buying something larger. Pair it with a related work, build a small grouping, or move it to a narrower wall where you prefer its proportions.
Make a full-size paper preview
- Trace each frame onto plain paper and cut out the shapes.
- Label the templates so you can identify the corresponding artwork.
- Arrange them on the floor, then transfer your preferred layout to the wall using a temporary method suitable for the finish.
- Check the arrangement from the doorway and your main seating position.
- Adjust the gaps and edges before marking any hardware locations.
For a compact gallery wall, try gaps of roughly two to three inches as a design starting point. Widen or narrow them according to the frames and the effect you prefer. Consistency is often easier to judge than any single measurement.
Photograph your paper layout from across the room before installing anything, then compare a few arrangements on your screen.
Select Frames That Suit the Artwork
Choose framing for both appearance and protection. A narrow dark frame is one option for graphic prints; a light wood finish is another for softer drawings. Hold samples beside the actual artwork instead of choosing from memory.
You do not need identical frames throughout your home. You could repeat one finish within a gallery wall while letting a standalone painting have a different treatment.
Give works on paper appropriate support
For drawings, photographs, and other works on paper, ask about conservation-quality mats, backing, and appropriate mounting. Suitable glazing and separation between the artwork and glazing are important parts of protective framing. Avoid treating ordinary tape or a convenient cardboard backing as a permanent solution for a valued original.
Give the framer useful information: whether the piece is an original or reproduction, how it was made, and whether it has sentimental or financial value. Ask them to explain the proposed materials and mounting method.
Handle canvas and unusual media individually
A stretched canvas, textured painting, charcoal drawing, and textile do not necessarily need the same framing approach. For paintings, a correctly fitted, sound frame can support and protect the work; weak joints or inappropriate fastening can create risks. Ask a professional framer about unfamiliar materials rather than forcing them into a standard frame.
If you are displaying your own work on a limited budget, consider framing a good reproduction while you decide on permanent framing for the original. That gives you time to choose without leaving the wall empty.
Install Your Display With Suitable Supports
Before installation, check the total framed weight, the wall construction, and the condition of the frame’s existing attachments. Hanging hardware must suit the complete assembly, not just the artwork inside it. Loose fittings, worn wire, and unsuitable wall attachments can cause a painting to fall.
Read the instructions for the exact hardware you plan to use. Do not assume a fixing suitable for one wall material will work in another. For heavy, oversized, or awkward pieces, use a qualified installer.
Transfer the actual hanging position
The top edge of a frame is not necessarily where its wall fixing belongs. Measure the hanging attachment in its working position and transfer that offset to your template. With wire, account for its position under tension rather than measuring it while it hangs loose.
Before drilling, assess the location for concealed utilities and stop if you cannot establish that the work is safe. Get help lifting large pieces, and keep the installation area clear while you work.
Choose no-hole options carefully
If you rent, check your agreement before altering walls. Adhesive picture hangers are an option only when the product permits your surface, frame dimensions, and weight. Follow the specified preparation, waiting time, and removal method; adding extra strips does not automatically increase the allowed load.
If adhesives are unsuitable, consider a small tabletop easel or an existing stable display cabinet. Do not balance a heavy frame on a narrow ledge or leave unsecured leaning artwork where children or pets could dislodge it.
Adjust Lighting and Refresh the Arrangement
View your completed display in daylight and after dark. Sit where you normally relax and look for reflections that obscure the image. Before adding another fixture, try adjusting an existing lamp or changing your viewing angle.
For original paintings, use modest, indirect illumination and avoid direct sunlight. Light damage depends on both intensity and exposure time, so switch display lighting off when it is not needed. UV filtering can help with one part of the problem, but it does not make unlimited light exposure harmless.
Make changes with a purpose
Live with the display before deciding it needs more. You may prefer a simpler arrangement once you have seen it during ordinary daily life.
When you want a change, try one adjustment at a time:
- Swap one piece rather than rebuilding the whole gallery wall.
- Move a small frame from a shelf to a tabletop easel.
- Remove an accessory that competes with the image.
- Display a different selection of your own finished work.
Keep a photograph of arrangements you like. It gives you a useful reference when you rotate pieces or rearrange the furniture.
Frequently Asked Questions
What is the best height to hang artwork at home?
Start by testing the center of the artwork around 57 to 60 inches above the floor. Then adjust for furniture, seated viewing, and the people using the room rather than following the measurement rigidly.
How can you display art without putting holes in walls?
Try a tabletop easel, an existing display cabinet, or suitable adhesive picture hangers. For adhesive products, check the permitted surfaces and weight limits, and follow every installation and removal instruction.
Should all picture frames in a room match?
No; matching is a design choice, not a requirement. Try repeating one detail, such as frame color or mat style, if you want a mixed collection to feel more coordinated.
How do you display your own artwork without making a room feel cluttered?
Choose a small selection and give each piece enough space to be seen clearly. Consider rotating your favorites instead of displaying everything at once, and use one designated wall or shelf for an evolving collection.
Conclusion
Learning how to display your art at home starts with choosing what you want to enjoy, then testing where it belongs. A paper layout helps you refine the arrangement before suitable framing, secure installation, and thoughtful lighting complete the display.
You do not need to finish every room at once. Start with one piece or one small group, make deliberate choices, and build a display you are happy to live with.